
Add files to a project
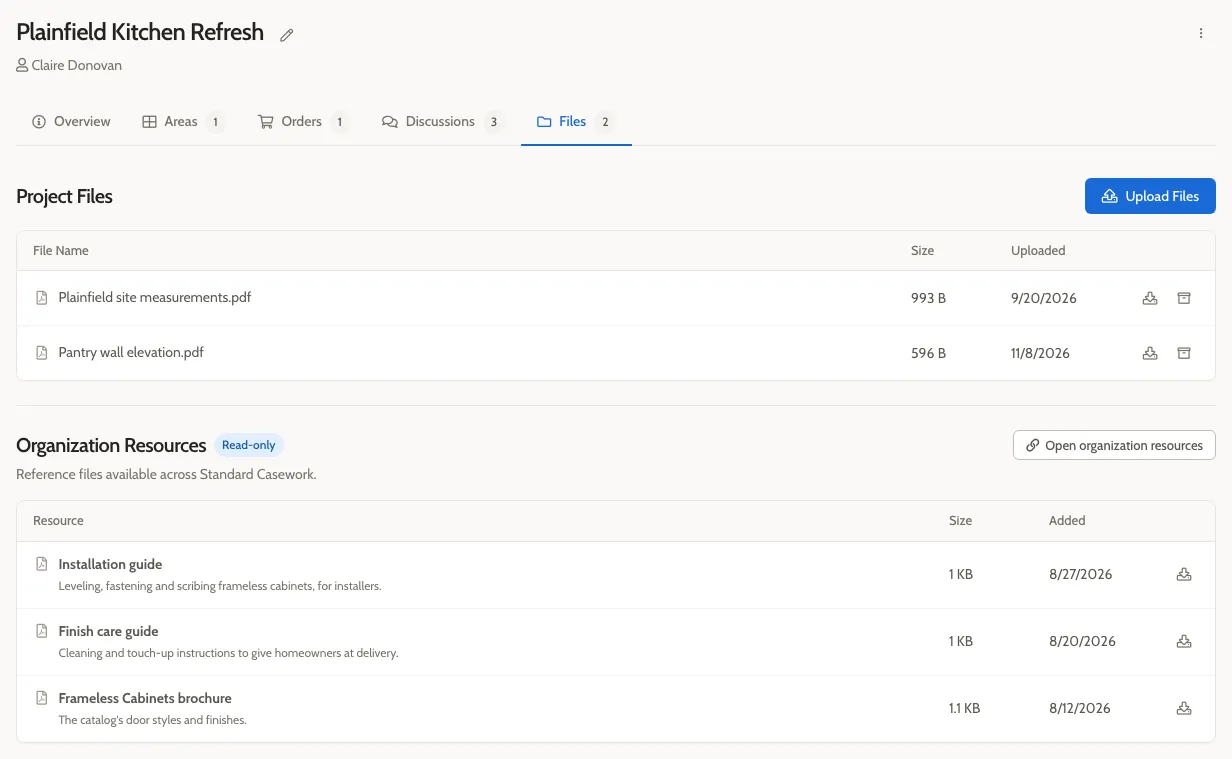
A project’s Files tab holds files for that job, such as site photos, drawings, or the customer’s notes. Areas have their own Files tab for files about one room.
Only the project’s creator can upload, archive, or restore files, on the project or its areas. Anyone who can open the project can download them. See Permissions.
Upload a file
Section titled “Upload a file”- Open the project or area, and select the Files tab.
- Select Upload Files, and choose one or more files.
The files appear under Project Files straight away. There’s no confirmation step.
Download, archive, or restore a file
Section titled “Download, archive, or restore a file”In the file’s row, select the download icon to download it, or the archive icon to archive it.
An archived file moves to the collapsed archived-files section below the list, for example “1 archived file”. It can still be downloaded from there. To bring it back, expand the section and select the restore button in its row.
Organization resources
Section titled “Organization resources”Below the project’s own files, Organization Resources lists files your organization shares with every project, such as a catalog brochure. They’re read-only here. See Share a file with every project.