Add a project, an area, or a project address
Add a project
Section titled “Add a project”-
In the left menu, select Projects.
-
Select Add Project.
-
Choose the Customer.
-
Type the Project Name.
-
Select Add area to add areas now, or add them later.
-
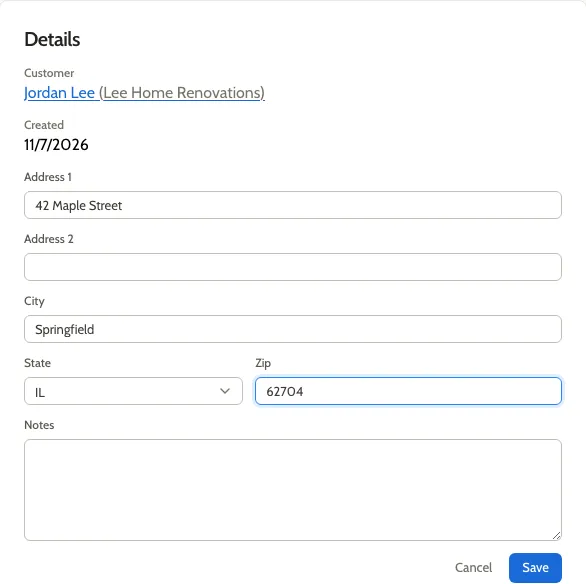
Select Add address and fill in the project’s address.
The project address is where the order will be installed. You’ll need it before you can submit an order.
-
Select Create Project.
The new project’s page opens.
You can also add a project from a customer’s page: select Add Project under Projects.
Add an area
Section titled “Add an area”An area is one room or space in a project, such as “Kitchen” or “Primary Bath”. Every order belongs to one area.
- Open the project.
- Select the Areas tab.
- Select Add Area.
- Type the Area Name.
- Select Create Area.
The new area’s page opens.
Add or change a project address
Section titled “Add or change a project address”- Open the project.
- On the Overview tab, select Edit Details.
- Fill in Address 1, City, State, and Zip.
- Select Save.